This is a large frame for a mirror, 20" by 24". I suppose if you don't like what you see when you look in the mirror, you can at least like looking at the mirror.
 This is a large frame for a mirror, 20" by 24". I suppose if you don't like what you see when you look in the mirror, you can at least like looking at the mirror.
 I've finished the white plate and now I'm painting a wall clock. The face of the clock will go inside the inner black circle. I have just the spot for it, once it's done.


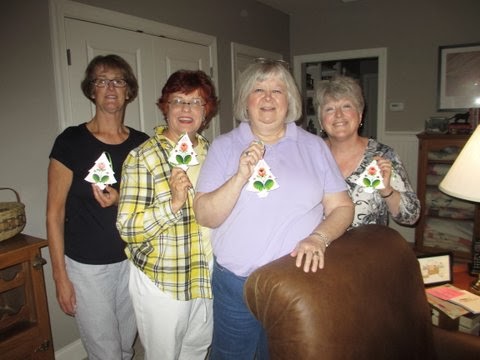
 I finished the front of all eleven ornaments for my rosemaling club (Ornament Of The Year) and five on the back as well. After I finish the back of the remaining six, I'll varnish them all and then send them off to our OOTY master.
 I don't usually paint on a green background, but I like the way this turned out.
 These flowers are fun to paint. Some I've never painted before, and that keeps it interesting.
 I backgrounded this plate some time ago, so I just had to pick a pattern, transfer it to the plate and start painting.
 What a difference the leaves make. Not only do they connect the flowers and fill in empty spaces, they give a unity to the whole piece.

 I've added two parrot tulips to the picture frame. Two more large flowers and a few groups of little flowers and then the leaves will complete the project.
 I painted this plate for Judy to celebrate her many years directing children's programs at her church. I think she likes it.

 I've painted a few more flowers. They look a little disjointed now, but there will be more flowers around the frame and then they'll be connected with leaves. It should look like a garland when I'm finished. At least, that's the plan.
 It isn't quite spring yet, but the first flowers have bloomed on the picture frame I'm painting. Soon there will be others. Watch my garden grow.
 I'm painting a picture frame for Abbey and I planned to use a black background. My "black" is actually green-black because it's not as harsh and flat as black black.